How to capture screenshot on mac?
Take screenshot on a Mac Book, Use built-in shortcuts from your keyboard. Here's some methods to capture screenshots below:
Capture the entire screen:
Press Command (⌘) + Shift + 3
Screenshot will be saved on your desktop.
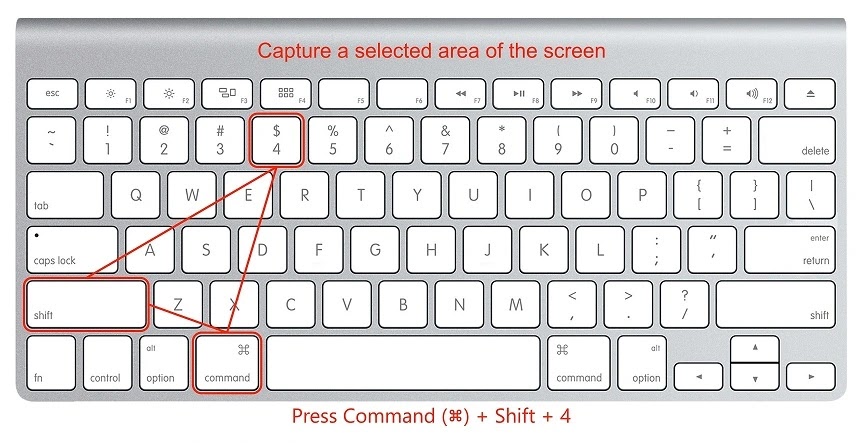
Capture a selected area of the screen:
Press Command (⌘) + Shift + 4
Your cursor will change to a crosshair. Click and drag to select the portion of the screen you want to capture. Release the mouse button to take the screenshot.
Screenshot will be saved on your desktop.
Capture a specific window:
Press Command (⌘) + Shift + 4 + Spacebar
Your cursor will change to a camera icon. Move the camera icon over the window you want to capture, and then click on the window to take the screenshot.
Screenshot will be saved on your desktop.
Capture a Touch Bar (if applicable):
Press Command (⌘) + Shift + 6
Screenshot will be saved on your desktop.
By default, the screenshots will be saved as PNG files on your desktop. If you want to copy the screenshot to the clipboard instead of saving it as a file, you can add the Control key to any of the combinations above. For example:
To copy the entire screen to the clipboard:
Press Command (⌘) + Control + Shift + 3
To copy a selected portion of the screen to the clipboard:
Press Command (⌘) + Control + Shift + 4
Remember that if you have macOS Mojave or later, a small preview of the screenshot will appear in the bottom-right corner of the screen after taking it. You can click on the preview to edit the screenshot, annotate it, or share it immediately.


